
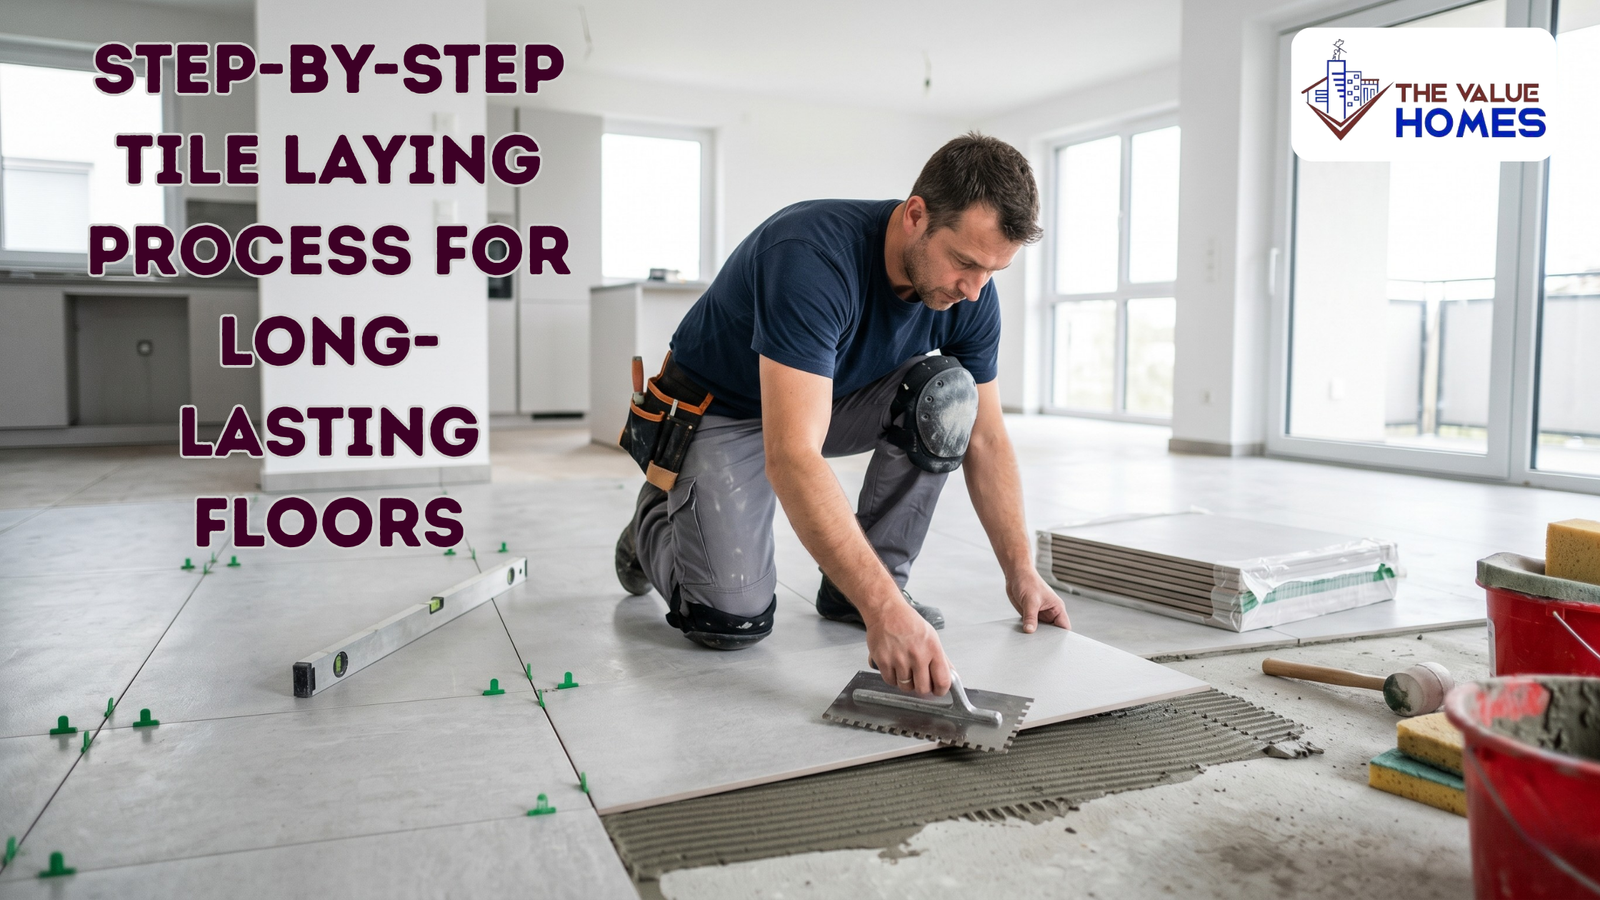
Creating a durable and attractive home floor is important for both comfort and long-term value. Among the many flooring options available today, tiles remain one of the most popular choices because they are stylish, easy to maintain, and highly durable. People like them because they look good, are easy to take care of, and last long. But just picking good tiles isn’t enough; the real trick is how well they’re laid down.
Many homeowners invest in high-quality tiles but overlook the importance of proper installation. Because of this, their floors may develop cracks, uneven surfaces, loose tiles, and grout issues within a short period. However, if the installation is carried out professionally, tile flooring can remain attractive and durable for many years.
In this blog, we’ll walk you through the complete tile laying process and explain why each step is important for achieving strong, attractive, and long-lasting floors.
Understanding the Tile Laying Process Step by Step
Tiles are designed to withstand daily wear and tear, but their performance depends largely on how they are installed. Proper tile laying ensures:
- Better durability
- Improved appearance
- Reduced maintenance costs
- Enhanced property value
- Long-term performance
A well-installed tile floor not only looks professional but also saves homeowners from frequent repairs and replacements.
Step 1: Inspecting and Preparing the Surface
Successful tile installations start with good surface prep, which is usually skipped but super crucial.
Before laying a single tile, installers inspect the floor thoroughly, on the lookout for cracks, bumps, moisture problems, or anything else that might stop the adhesive from working right.
The surface is then cleaned thoroughly to remove:
- Dust
- Dirt
- Oil stains
- Paint residue
- Loose particles
If the floor is uneven, leveling compounds may be used to create a smooth and stable base. A properly prepared surface ensures that tiles bond securely and remain stable over time.
Skipping this stage can lead to hollow tiles, poor adhesion, and premature damage.
Step 2: Measuring the Area and Planning the Layout
After the surface is prepared, professionals don’t just start laying tiles from a corner. They take precise measurements and plan the layout first to ensure everything looks great when it’s done.
This process helps determine:
- The number of tiles required
- Tile positioning
- Joint spacing
- Areas where tile cutting will be needed
Center lines are often marked on the floor to create a balanced design. Proper planning ensures that tile cuts along the walls are symmetrical and visually appealing.
Good planning also helps reduce material wastage and prevents delays during installation.
Step 3: Selecting the Right Tiles and Adhesive
Choosing the right tile is just as important as installing it correctly.
Different areas of a home require different types of tiles. For example:
Ceramic Tiles
Ceramic tiles are affordable and suitable for bedrooms and living areas with moderate foot traffic.
Vitrified Tiles
Vitrified tiles are highly durable, resistant to stains, and ideal for modern homes. They are commonly used in living rooms, kitchens, and commercial spaces.
Anti-Skid Tiles
These tiles provide better grip and are commonly installed in bathrooms, balconies, and outdoor areas.
Along with selecting the right tiles, choosing a suitable adhesive is equally important.
Modern tile adhesives offer several advantages over traditional cement mortar, including:
- Stronger bonding
- Better flexibility
- Faster installation
- Improved durability
The type of adhesive used depends on the tile size, location, and application requirements.
Step 4: Applying the Tile Adhesive
After selecting the appropriate materials, tile adhesive is applied to the prepared surface.
The adhesive is mixed according to the manufacturer’s instructions to achieve the correct consistency. It is then spread evenly using a notched trowel.
The grooves created by the trowel help distribute the adhesive uniformly and improve tile bonding.
Professional installers ensure:
- Consistent adhesive thickness
- Proper coverage
- No air pockets
- Strong adhesion
Uneven adhesive application can result in weak spots beneath the tiles, increasing the risk of cracks and breakage later.
Step 5: Laying the Tiles Carefully
At this stage, the flooring design begins to take shape. Tiles are carefully placed onto the adhesive according to the planned layout. In most cases, installers start from the center of the room and work outward to ensure a balanced and visually appealing finish.
Each tile is set in firmly to make sure it sticks properly. To keep uniform gaps, they use spacers – which help for grout and deal with tiny expansion and contraction due to temperature changes.
Installers check alignment and levels throughout to get that smooth surface. Being meticulous here really matters since it hugely affects how the final floor looks.
Step 6: Cutting Tiles for Edges and Corners
Very few rooms are perfectly square. Most tile installations require some cutting around:
- Walls
- Doorways
- Corners
- Pillars
- Fixtures
Accurate measurements are essential before making any cuts.
Professional installers use specialized tile cutters or wet saws to achieve precise cuts and clean edges.
Properly cut tiles create a seamless appearance and contribute to a professional finish. Poorly cut tiles, on the other hand, can affect the overall beauty of the floor.
Step 7: Grouting the Tile Joints
Once the adhesive has dried sufficiently, the spaces between the tiles are filled with grout.
Grouting serves several important purposes. It helps:
- Secure the tiles
- Prevent dirt accumulation
- Minimize moisture penetration
- Improve the overall appearance
The grout is carefully pressed into the joints using a rubber float. Excess grout is then removed before it hardens.
Today’s grout options are available in a wide range of colors, allowing homeowners to either match the tile color or create attractive contrasts.
A properly grouted floor not only looks better but also lasts longer.
Step 8: Cleaning and Final Finishing
After grouting is completed, the floor is cleaned thoroughly.
This stage involves:
- Removing grout residue
- Cleaning tile surfaces
- Inspecting tile joints
- Checking alignment
- Correcting minor imperfections
The final cleaning process reveals the true beauty of the installed flooring.
Professional finishing creates a polished appearance and ensures that the entire installation meets quality standards.
Step 9: Allowing Proper Curing Time
One of the most common mistakes homeowners make is using the floor too soon after installation.
Tile adhesive and grout require time to cure properly.
Depending on the materials used, installers may recommend:
- Avoiding foot traffic for at least 24 hours
- Delaying furniture placement
- Keeping the area dry during curing
Allowing adequate curing time strengthens the bond between the tiles and the substrate, ensuring long-term performance.
Patience during this stage can significantly increase the lifespan of the flooring.
Benefits of Professional Tile Installation
While DIY videos make tile installation appear simple, achieving professional results requires experience and expertise.
Hiring professionals offers several advantages:
Superior Finish
Experienced installers ensure straight lines, uniform spacing, and a flawless appearance.
Long-Term Durability
Proper installation techniques reduce the risk of cracks, loose tiles, and grout failure.
Reduced Maintenance
Professionally installed floors generally require fewer repairs and less maintenance over time.
Better Value for Money
Although professional installation may involve an initial investment, it often saves money by preventing costly future repairs.
Choose The Value Homes for Quality Tile Laying Services
If you’re planning a new flooring project or renovating your home, professional workmanship can make a huge difference.
At The Value Homes, we provide reliable and high-quality services including:
- Tile Laying
- Home Renovation
- Waterproofing
- Construction Solutions
- Property Improvement Services
Our experienced team focuses on precision, durability, and customer satisfaction, ensuring every project is completed to the highest standards.
If you are looking for professional tile laying, home renovation, waterproofing, or construction services in Chennai, The Value Homes offers reliable solutions tailored to your requirements. Our experienced team focuses on quality workmanship, timely completion, and customer satisfaction.
Call The Value Homes: 98840 94443
Conclusion
A successful tile laying process involves much more than placing tiles on a surface. From proper floor preparation and accurate layout planning to adhesive application, grouting, and finishing, every step plays an important role in creating a durable and attractive floor.
When carried out correctly, the tile laying process can provide years of durability, functionality, and visual appeal. Investing in quality materials and professional installation helps prevent future issues while ensuring excellent value for your property. Whether you are building a new home or renovating an existing one, following the right tile laying process is the key to achieving long-lasting and beautiful flooring.
A well-installed tile floor is not just about appearance; it is an investment in the long-term comfort, durability, and value of your home. By following the correct tile laying process and working with experienced professionals, homeowners can avoid common flooring issues and enjoy a flawless finish for years to come.
If you are planning a flooring upgrade, home renovation, waterproofing project, or new construction work in Chennai, The Value Homes is ready to deliver quality workmanship and reliable solutions tailored to your needs.The Value Homes
📞 98840 94443
📍 Chennai